Creating Scenes
In this section we will go through the "scene list" tile, how to create a scene and how to add it to OBS.
How to Create a Scene
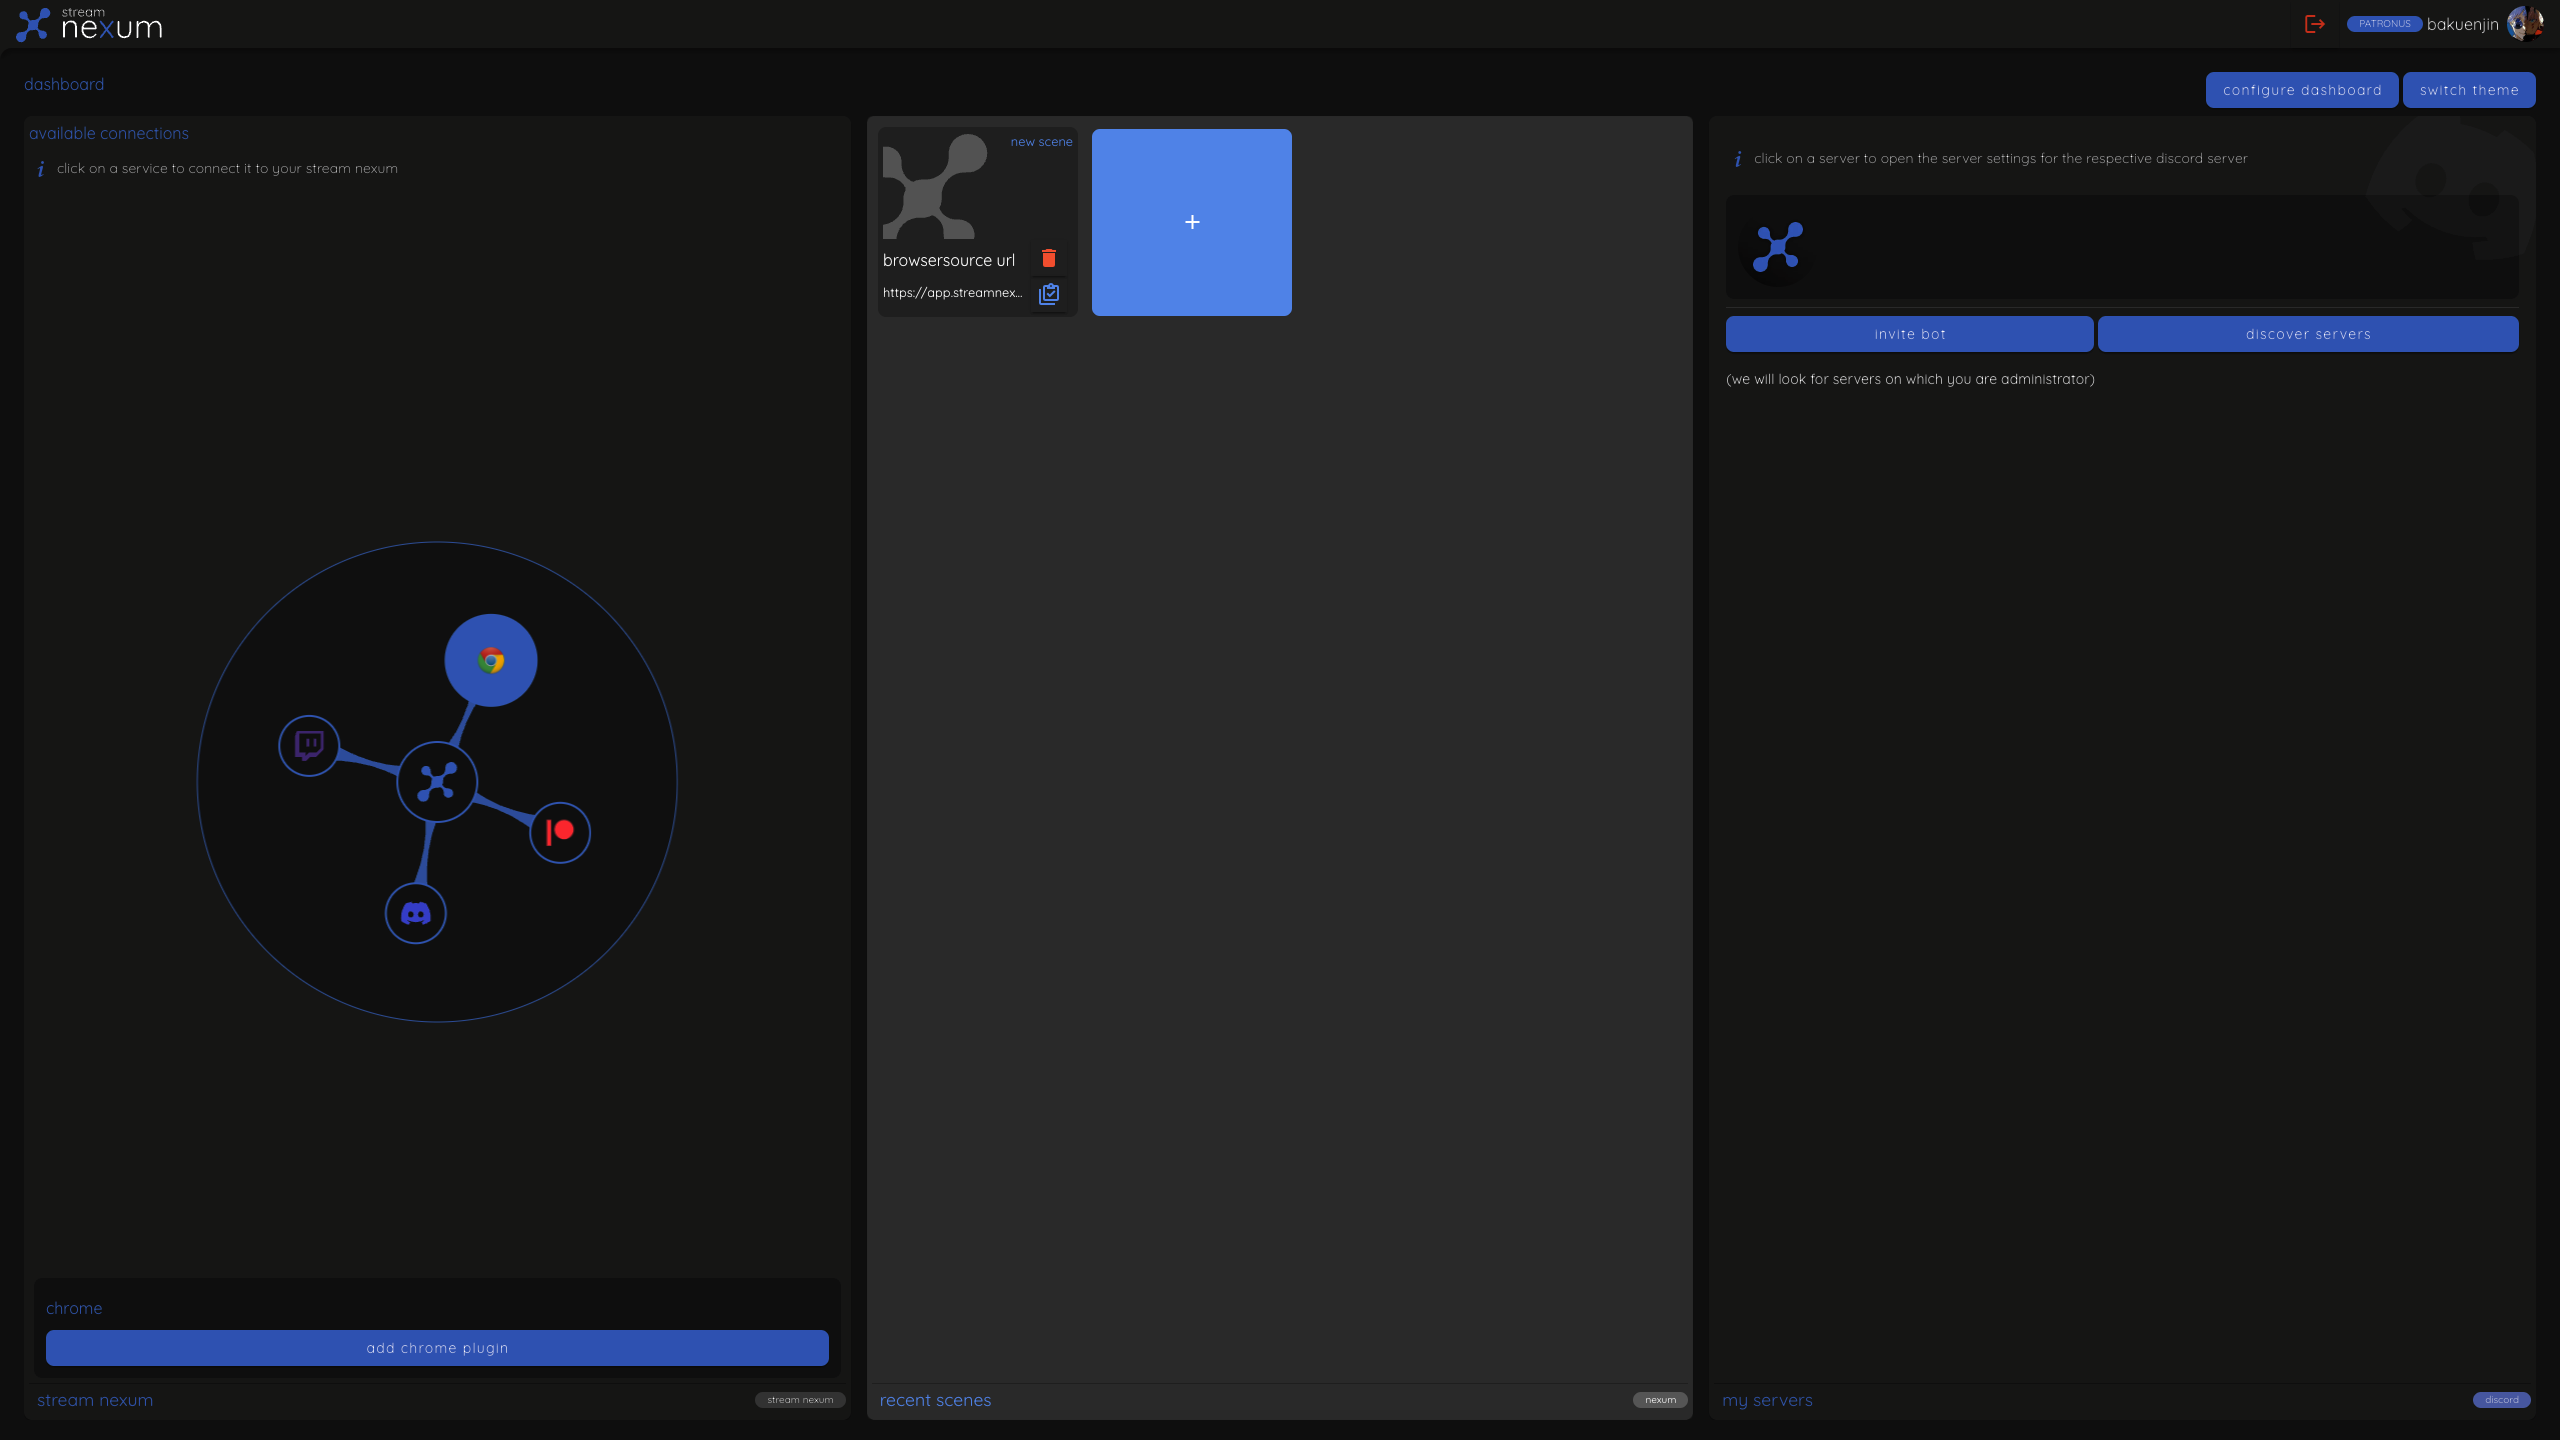
You can access your scenes directly from the dashboard, via the "scene list" tile. From there you can view, edit and delete existing scenes or create a new one.
If you have followed the Quick Start guide, you should already have created a scene. If not, you can create a new scene by clicking on the big blue "+" button at the top of the "scene list" tile.
There are three things you can do with the scene you have created:
-
Click on it to open the scene editor. This will be explained in more detail in the The Scene Editor section.
-
Click the trash icon to delete the scene.
-
Click the clipboard icon to copy the scene URL. This URL can be used in OBS to add the scene to your stream.
Adding a Scene to OBS
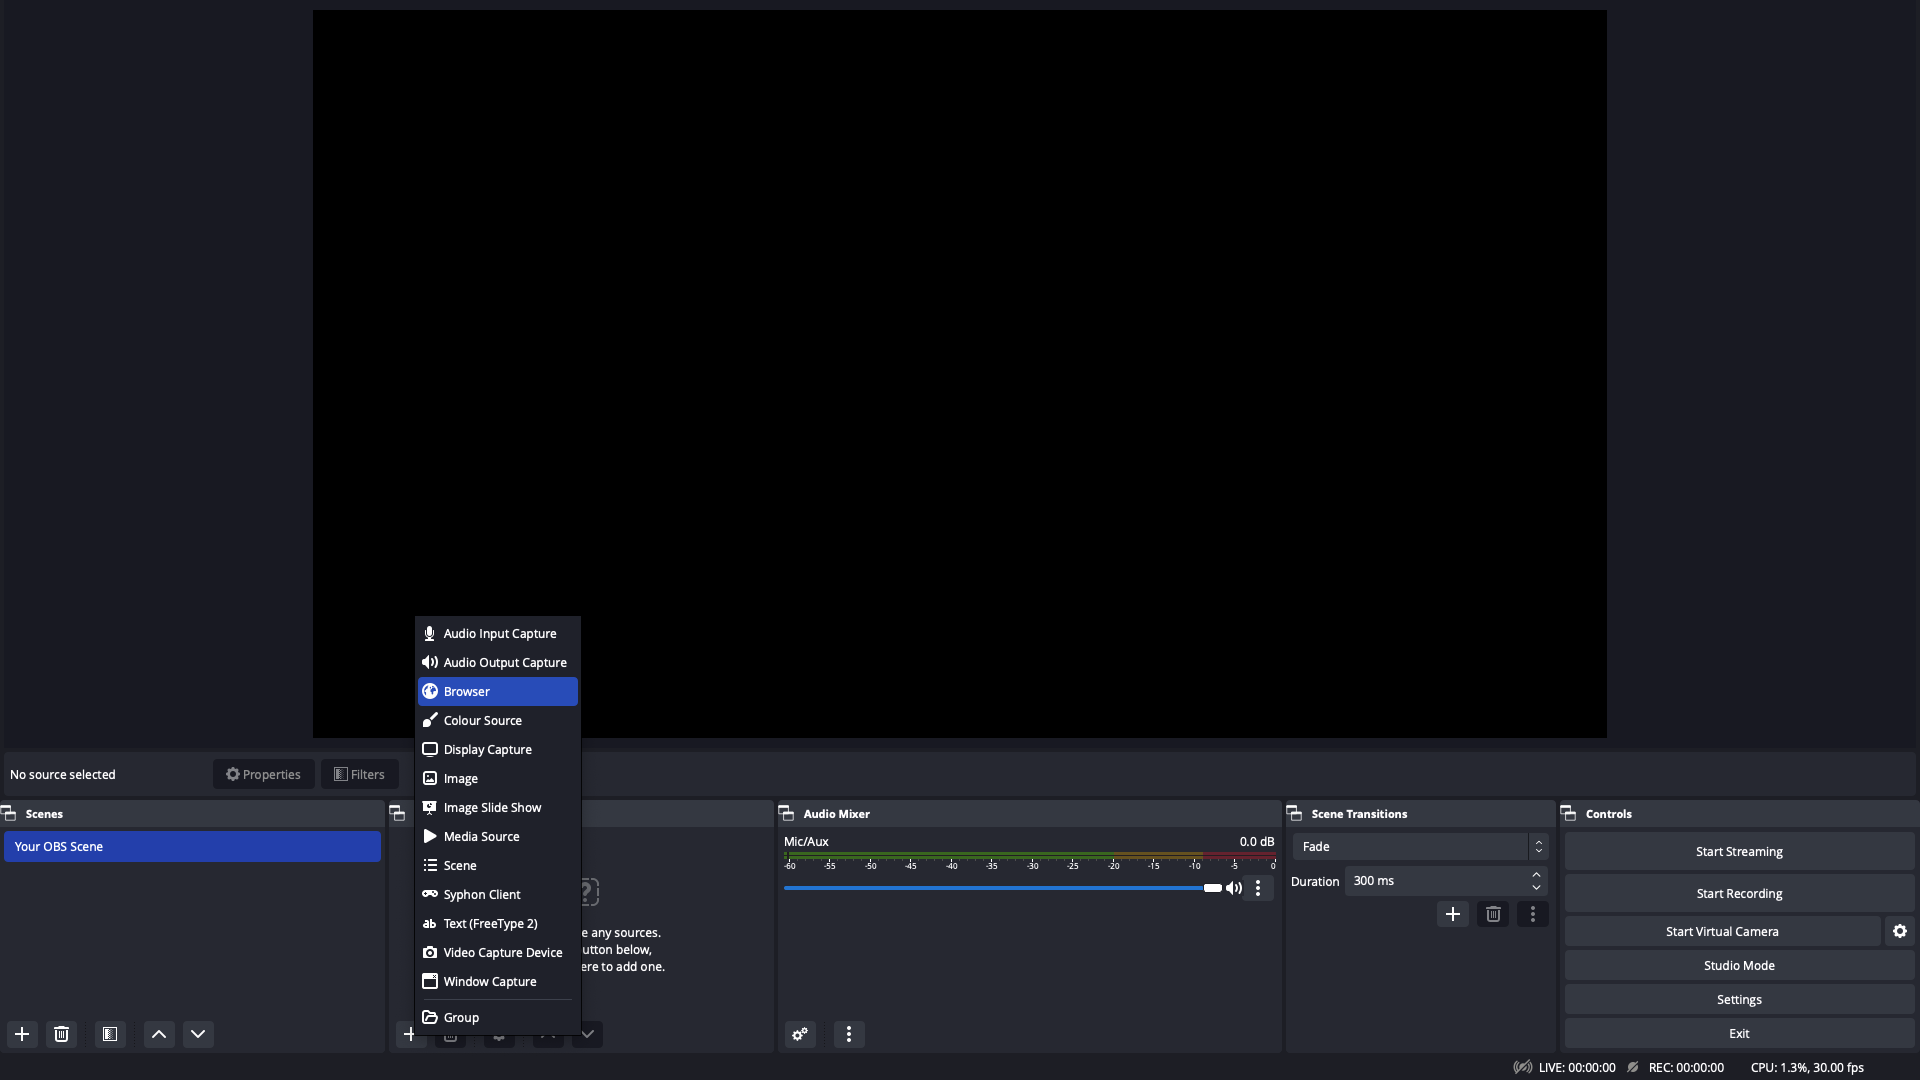
Once you have copied the scene URL, open OBS and select the OBS scene you want to add the stream nexum scene to. Then click on the "+" button at the bottom of the sources list and select "Browser Source".
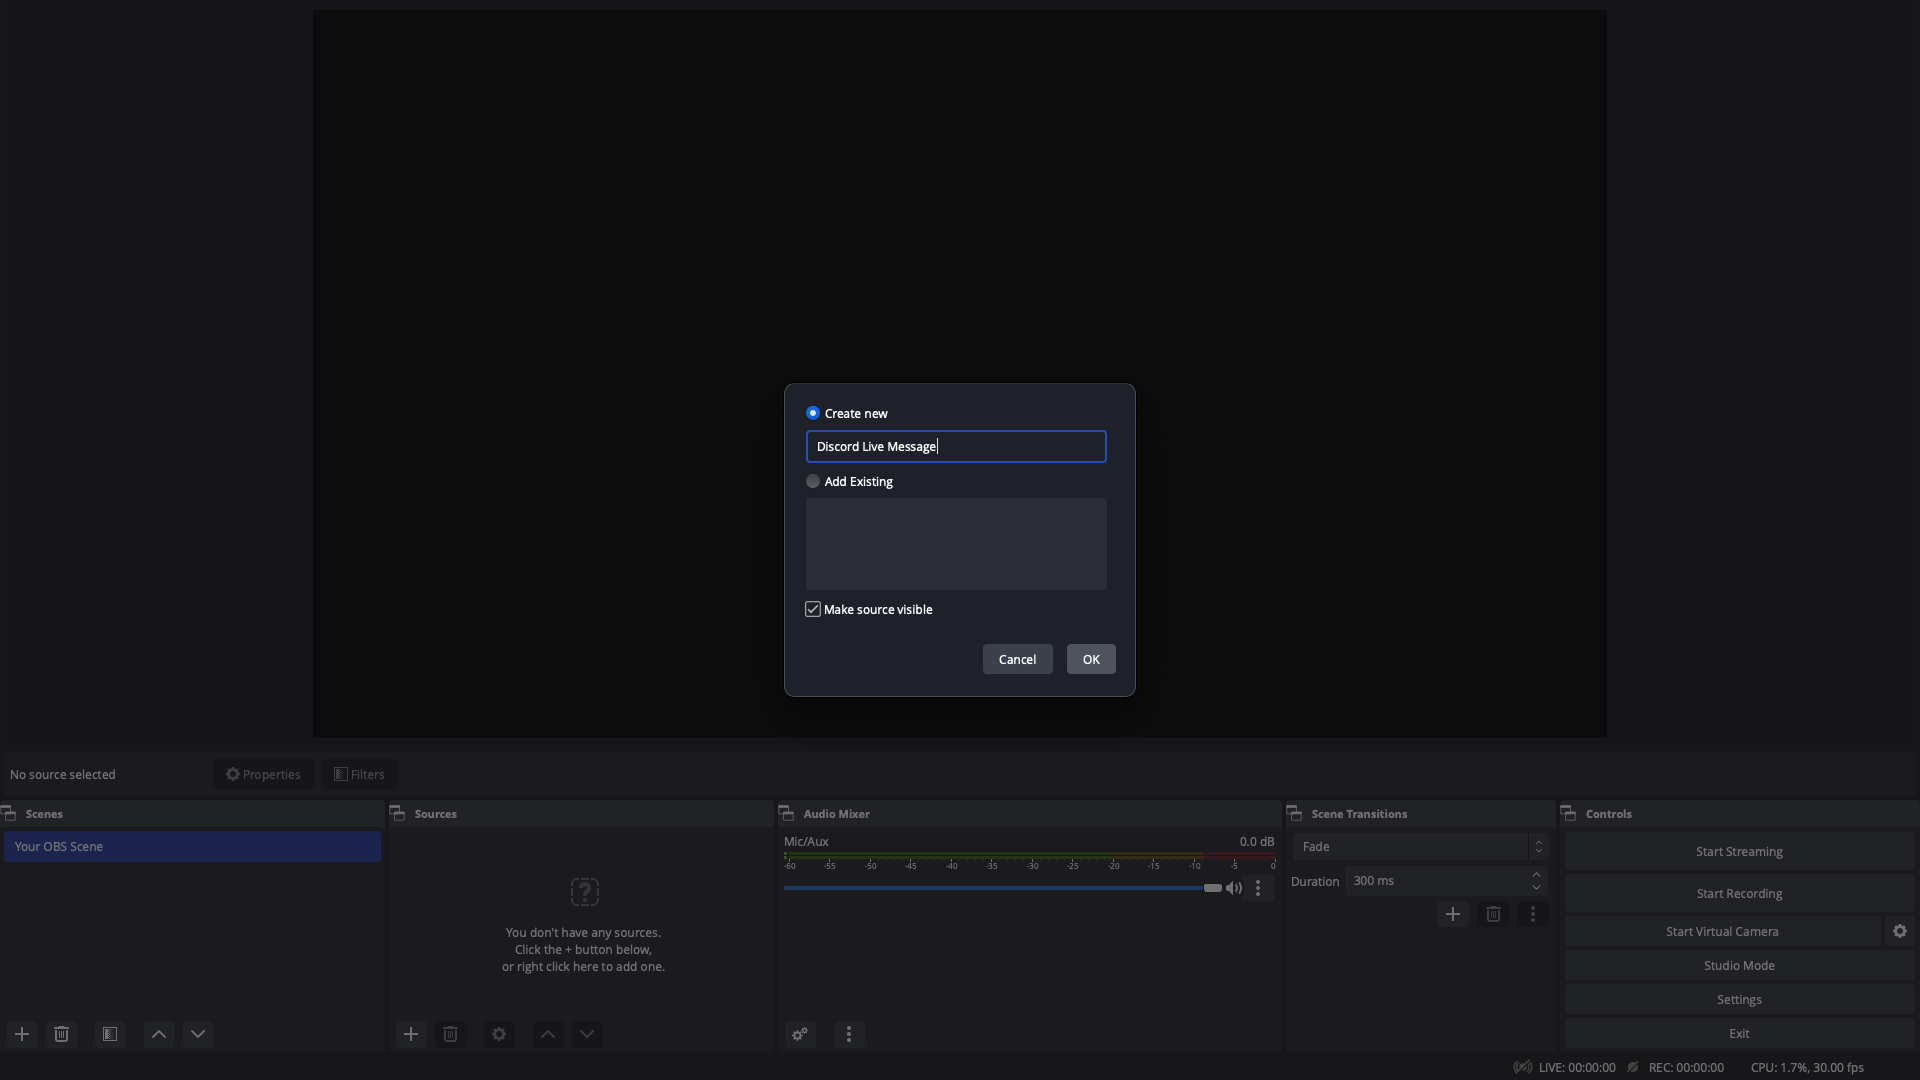
A small popup will appear allowing you to name the browser source you have created. For this guide we will name it "Discord Live Message".
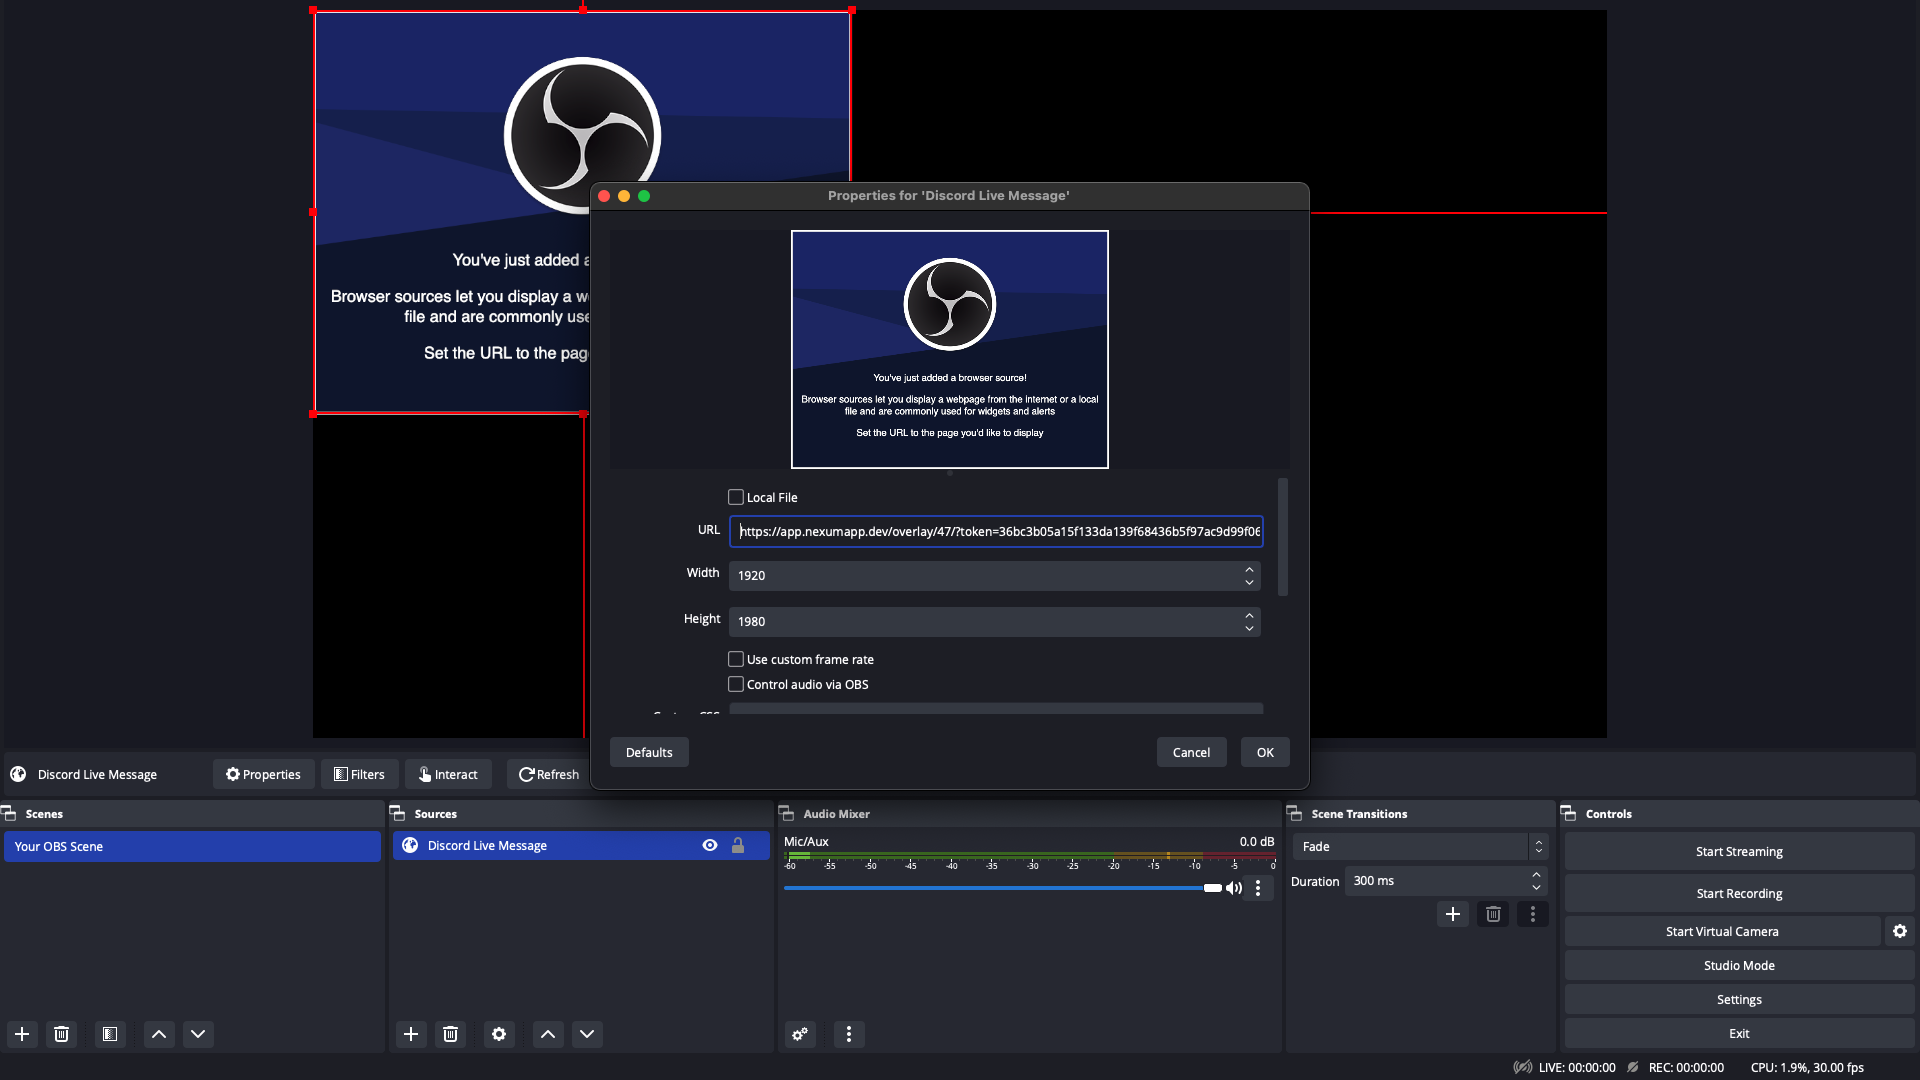
Next, enter the copied URL from the stream nexum scene into the "URL" text field of the Browser Source configuration. You can also adjust the other Browser Source settings to suit your needs. For more information about the Browser Source and how to configure it further, please refer to the official documentation of the Browser Source.


