The Scene Editor
Part of the Quick Start Guide
We strongly recommend that you read the Quick Start guide if you haven't already. This section currently only contains the same information as the "Scene Editor" section of the Quick Start Guide until we add more functionality to the Scene Editor.
Go to the scene list by clicking on the second icon on the left hand navigation bar, then click on the scene you wish to edit.
Scene Structure
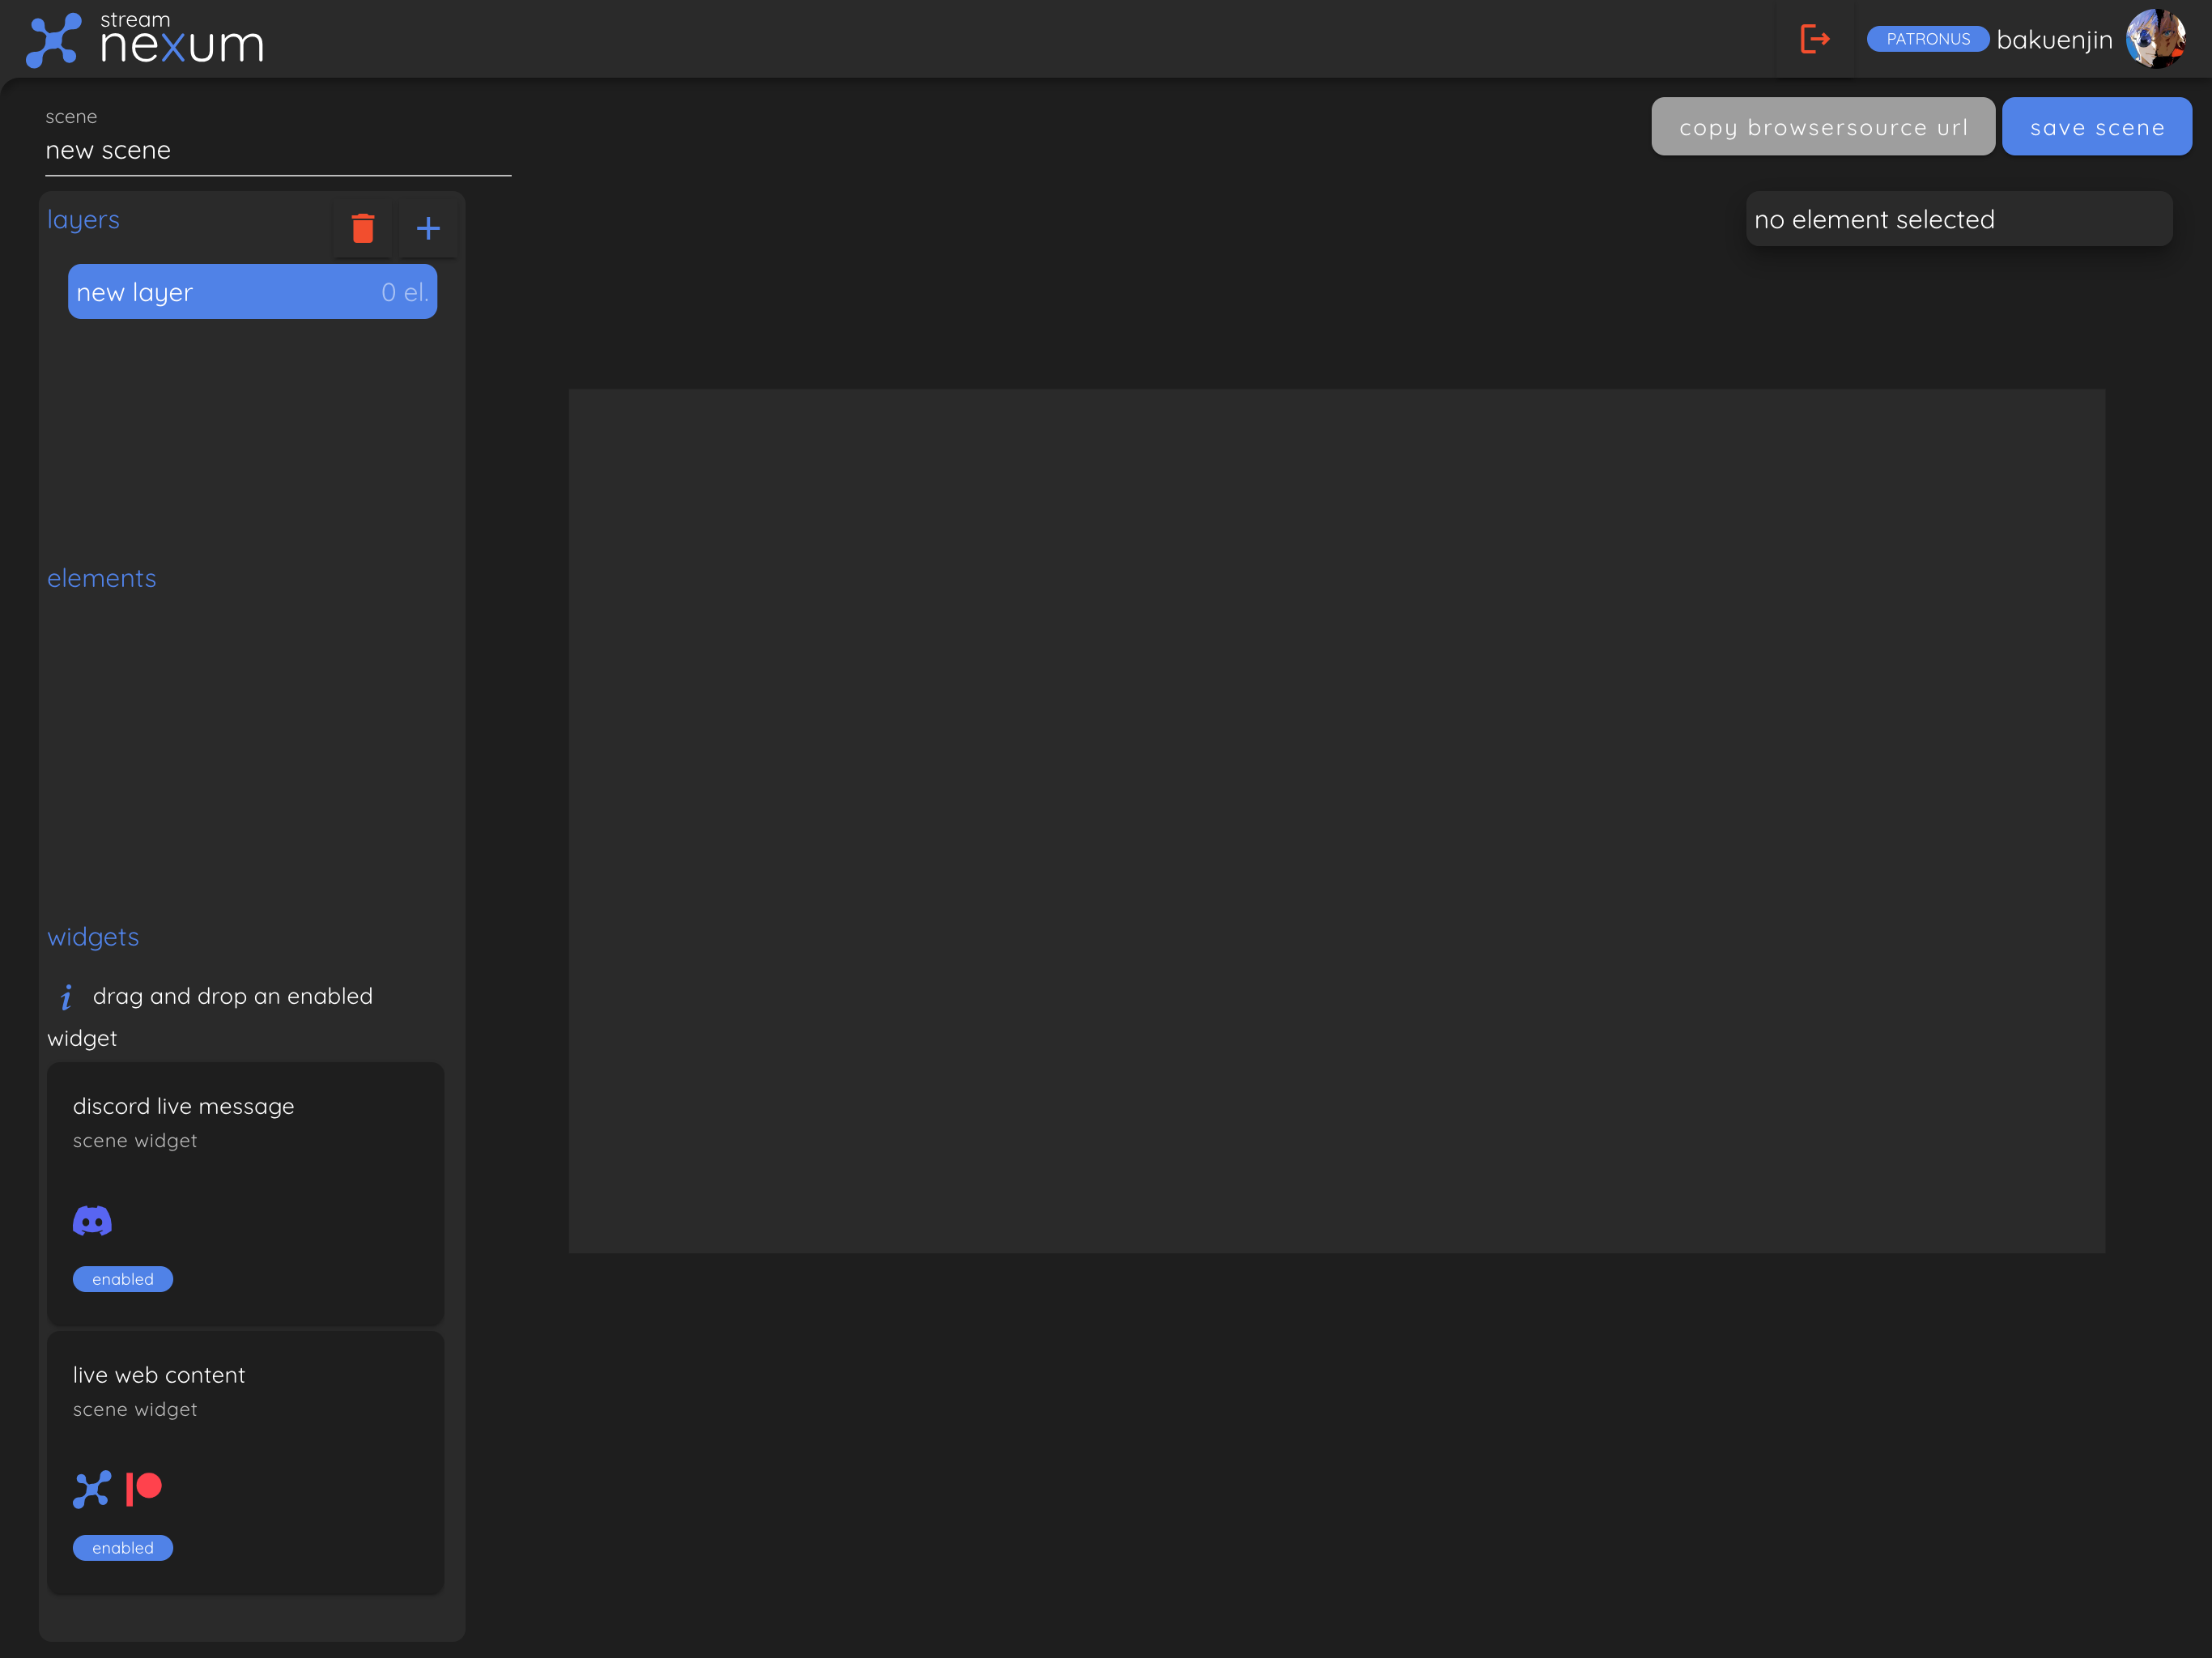
This may look a little overwhelming at first, but don't worry, we'll walk you through adding a widget (in this case, the Discord Live Message) to your scene step by step.
First, in the top left hand corner, we can rename your scene. We recommend that you give your scenes clear, descriptive names so that you can easily identify them later. For this example, we will name our scene "Discord Live Message".
When creating a scene, a layer is also created with it and gets preselected when opening a scene. Layers bundle multiple widgets together and can be used to create overlays of multiple elements. In future updates, layers can be reused in multiple scenes.
Creating a Widget
Discord Connection Required
We currently only offer the Discord Live Message widget as part of the Scene Editor, which requires a Discord connection. If you haven't connected your Discord account yet, you can do so by following the Discord Connection guide.
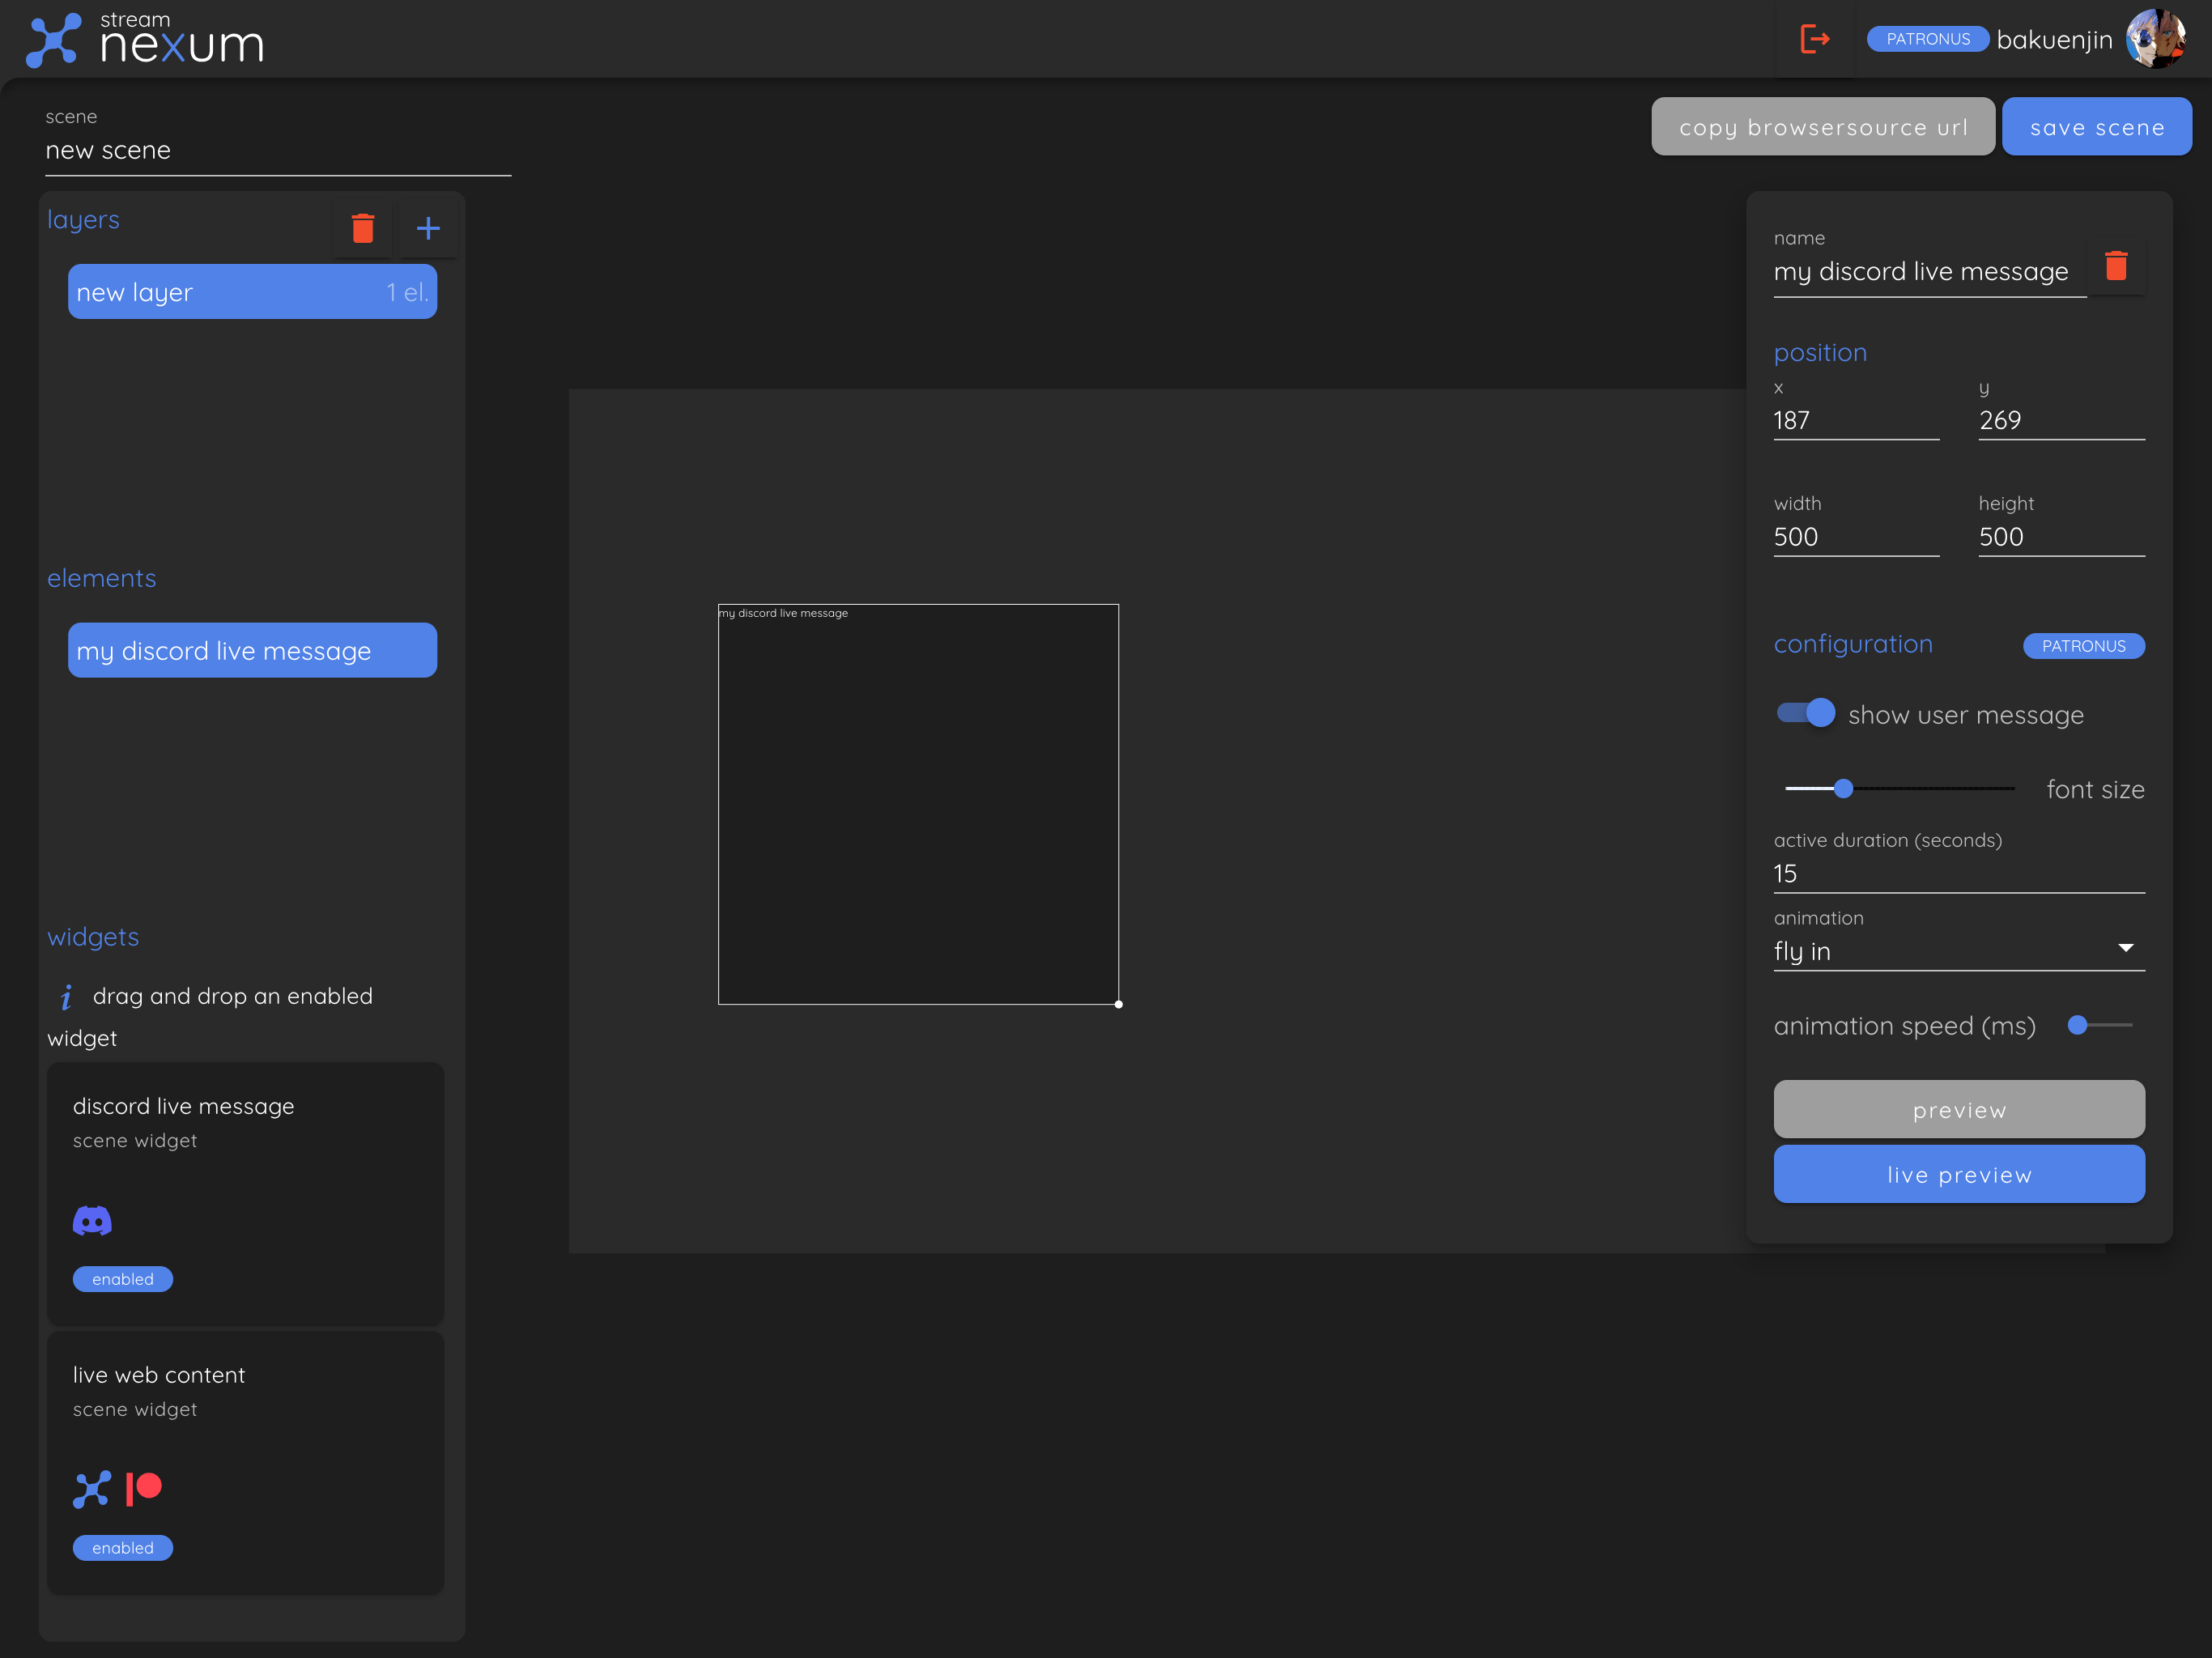
Now we can add widgets to our layer. At the bottom left you can see the Discord Live Message widget. Drag and drop it onto your scene. This will create a new element for the Discord Live Message widget in your scene. An element represents a configured widget and will be reusable in future updates of stream nexum.
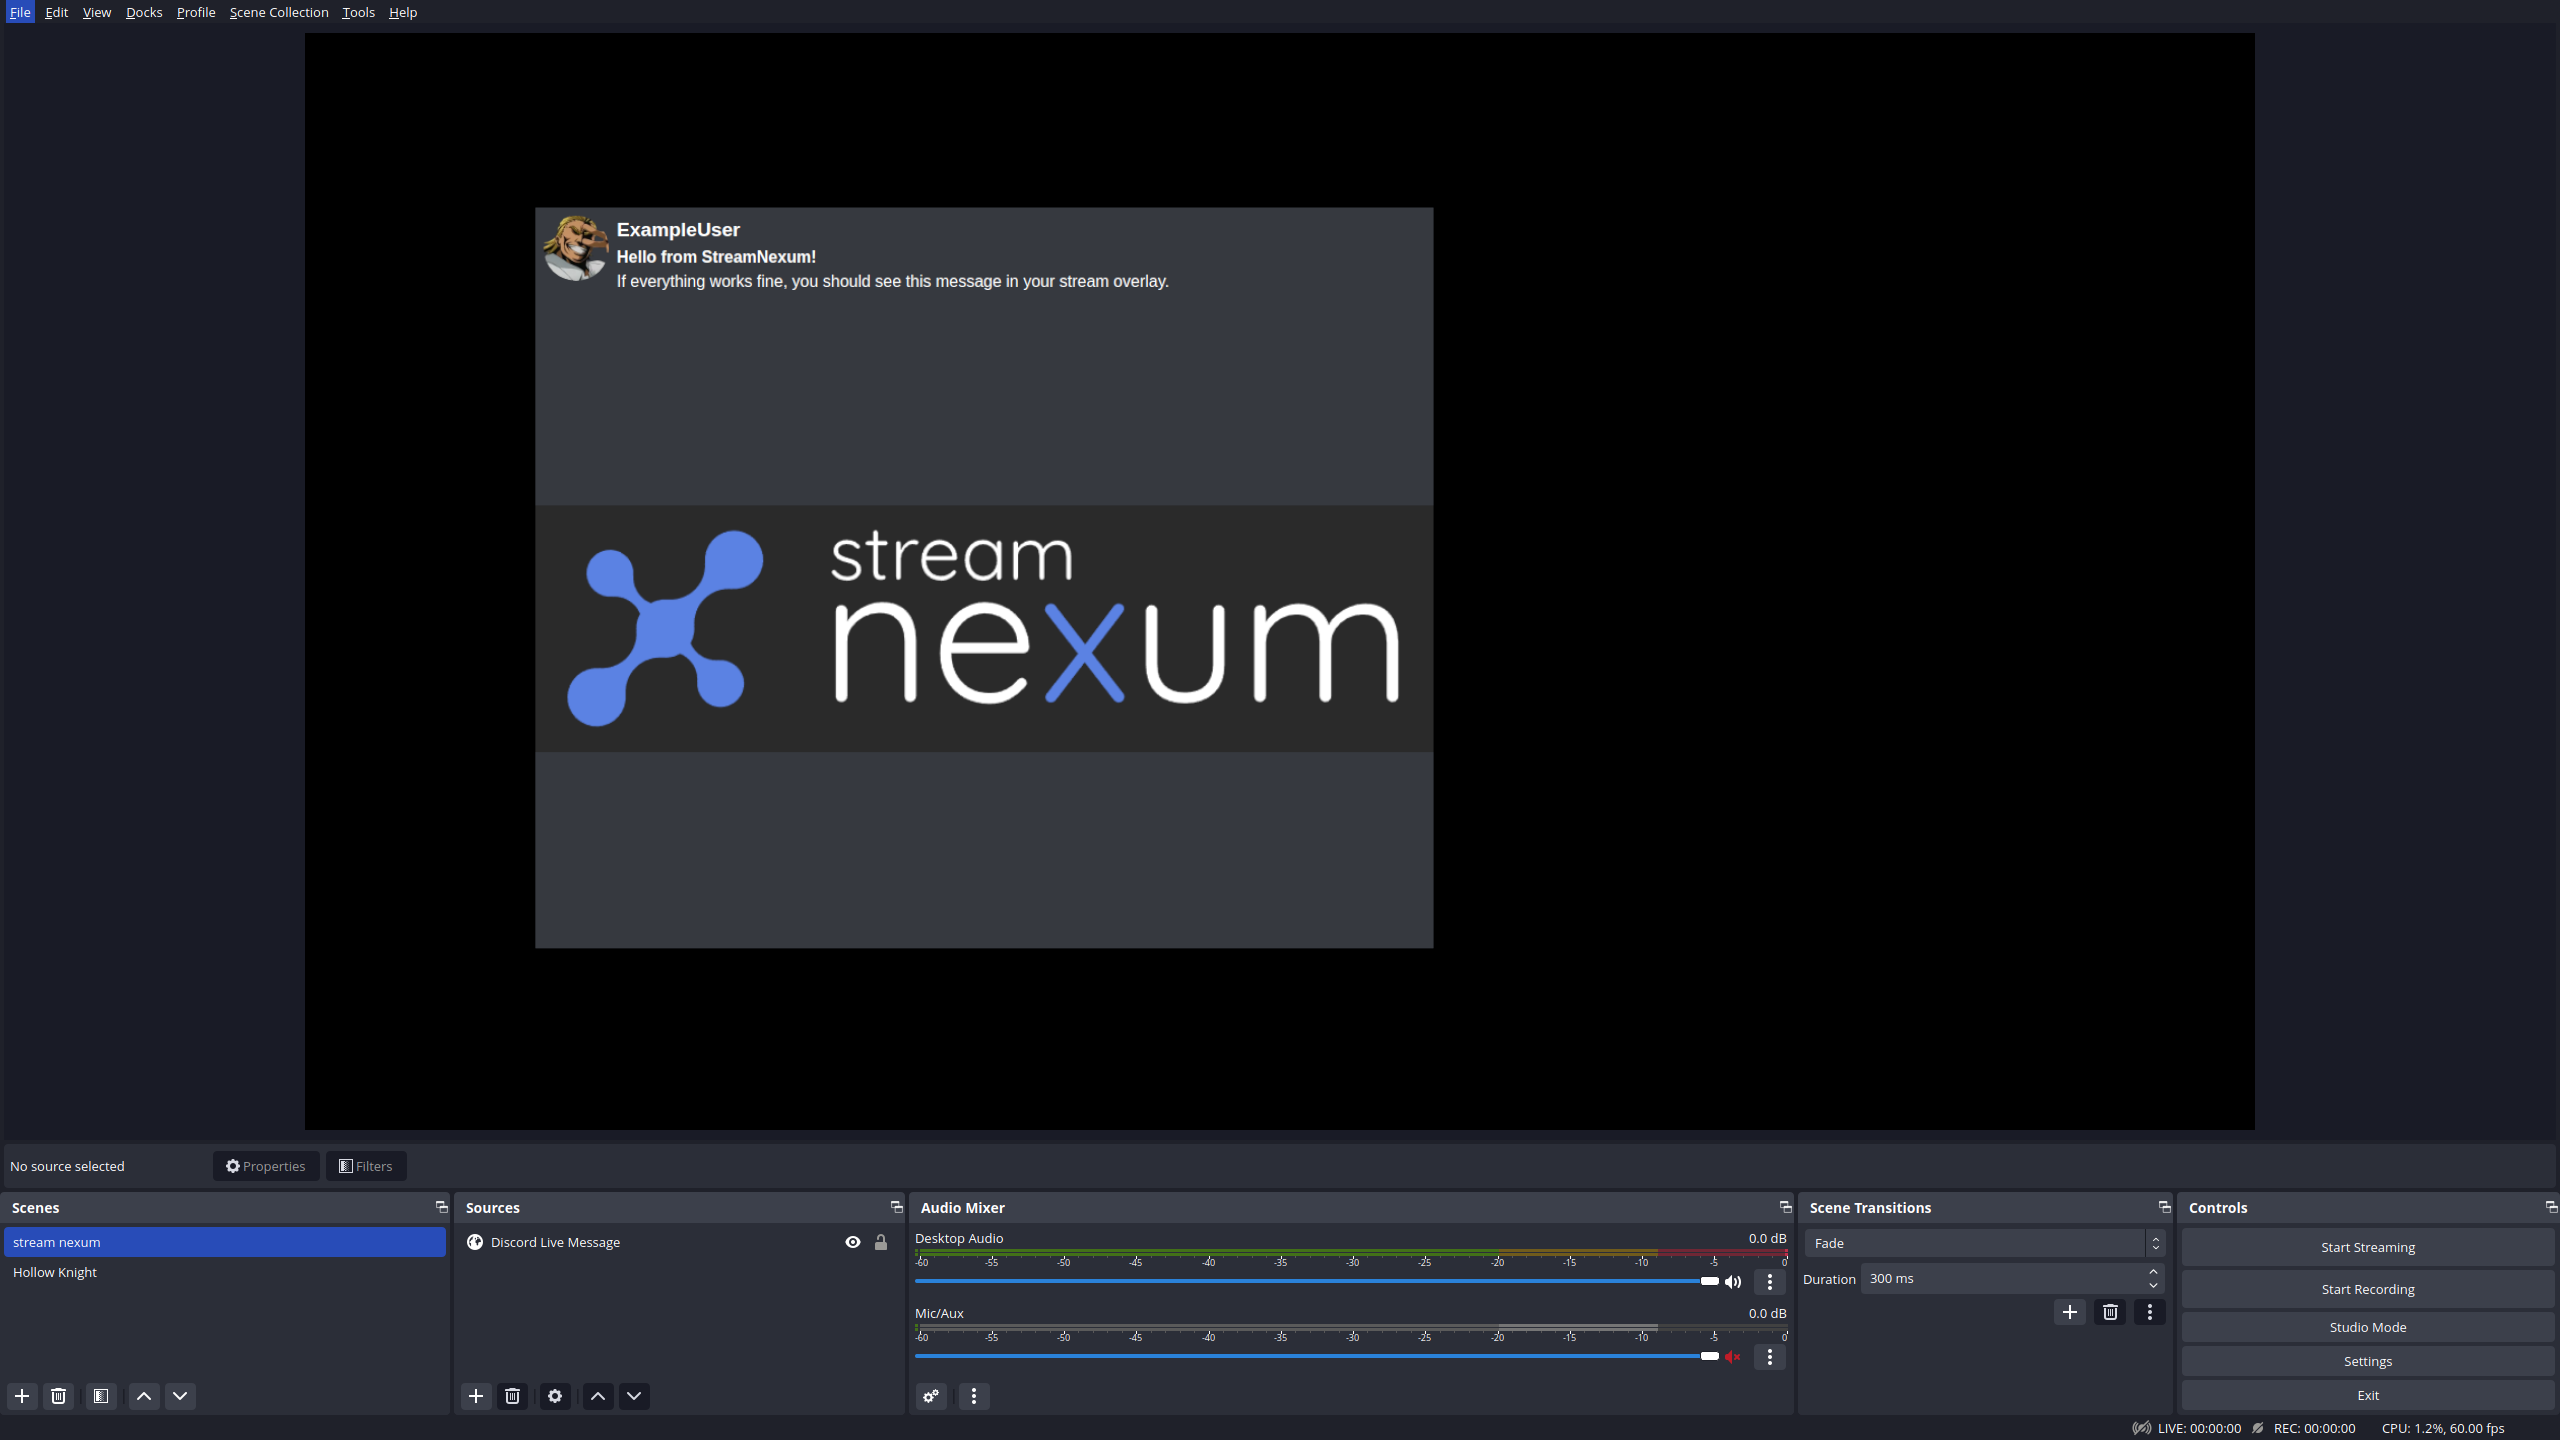
Now you can configure the element to your liking. You can change the position and size of the element by dragging it around the scene or using the configuration window on the right. The configuration window also offers two different previews of the element. The preview button will show you a preview in the scene editor, while the live preview will send the preview to the overlay itself. This allows you to check how the element will look in your OBS scenes. However, for the live preview to work, you need to save the scene and add it as a browser source to your OBS, so let's do that now.
Testing the Scene in OBS
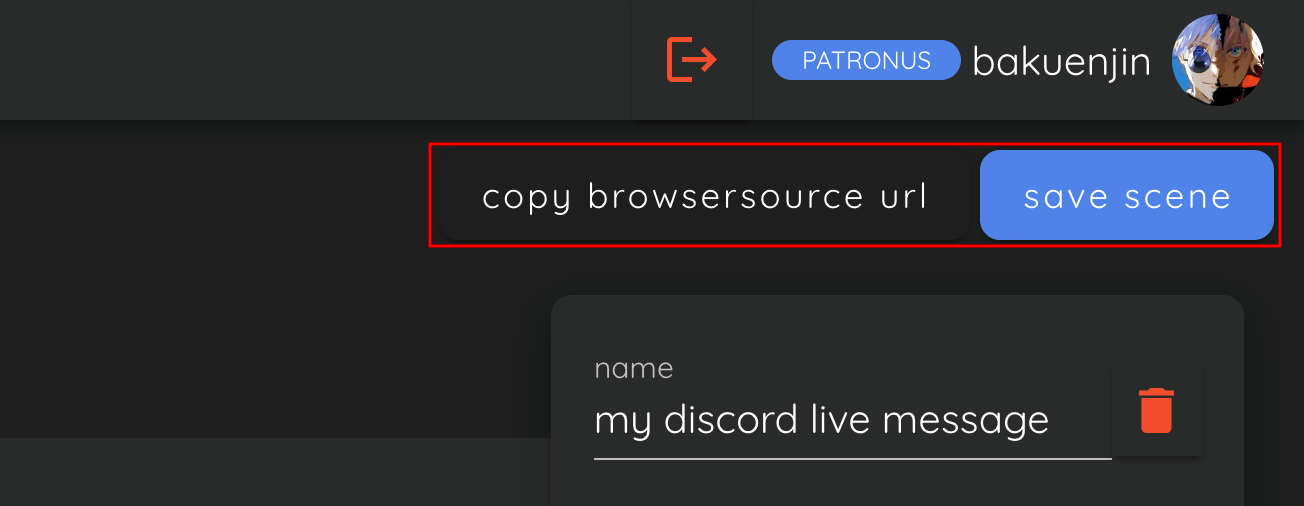
Click on the "save scene" button in the top right hand corner and then click on the "copy browsersource url" button next to it to copy the URL to your created scene.
Now go to your OBS and add the URL to your scene as a browser source. If you are not sure how to add a scene to OBS, check out the Adding a Scene to OBS section. You can now use the "live preview" button in the Scene Editor to see how the element will look in your OBS scenes.


